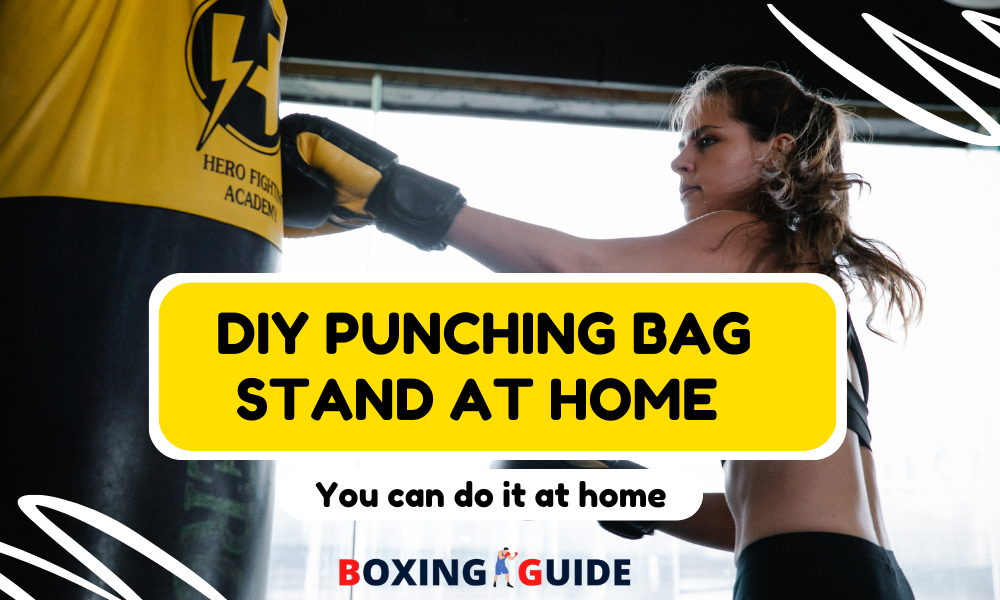
Regardless of whether it’s boxing, kickboxing, or MMA, punching bag training is a must requirement.
Punching bags are quite strong and heavyweight. Therefore, proper support for punching bags is an unquestionable requirement. For punching bags, the recoil is just as significant as the enduring capacity of the punching bag.
However, a sloppy design or support system can ruin your boxing training experiences. You need to guarantee that your punching bag lies on a strong support system to keep away from injury and finish your workout session properly.
If you want to save money and make a DIY heavy bag stand all by yourself, we’ve got you covered with our instructions on how to make a punching bag stand.
Tools Required to Make a Punching Bag Stand
- In the first place, we need two 4×4 wooden bars roughly double your height. The wood type is not crucial, so select reasonable and solid woods like pine, fir, or sprout. Simply, you can go for a wooden log that is 12 ft in height. It’ll guarantee that you hang the punching bag high enough to pound it into the center.
- Then, we will require an 8 mm eye bolt and matching eye nut. You can easily pass a rope of any sort through the bolt’s hole.
- We will require somewhere around 20 ft of rope. It can be of any kind; however, I will encourage you to prefer the synthetic ones since they degrade much slower than the others. We will utilize this rope to support the punching bag’s weight.
- Aside from these, you will require a measuring tape, a drill machine, and a saw.
You can without much of a hustle get these items in your nearest hardware shop. After collecting all these tools, you are ready.
Step by Step Instructions to Make a Punching Bag Stand
Once we have gathered all the fundamental tools that we want, simply make sure to take adequate safety measures before you start with our instructions.

Framing the Punching Bag Stand
Initially, we are going to build the basic X-shape with wooden bars.
Take the measuring tape and the drill machine. Measure 2 feet from each wooden log and drill a hole in each wooden bar.
Hold the drill perpendicular to the board and press down on the power drill to carve a hole through the wooden log.
We will utilize the eye bolt here, so the hole should be 8 mm in size to allow the bolt to pass. Clear the woods off, and make a second hole almost 2 inches away from the top of each wooden bar.
Although you will not be passing an eye bolt through this hole, it’s recommended to drill holes of a similar size for simplicity.
Then, the wooden logs should be laid on top of one another in such a way that they intersect at the hole you cut in each log.
Then, wire the eyebolt through two wooden bars’ lower holes and put the eyebolt on the opposite side. Fasten the nut with your fingers slightly until the DIY boxing bag stand stays firm.
In this way, we’ve finished our fundamental construction. Kindly remember not to fasten the nuts till the very end of the process. Leave it a bit loose so that the wooden logs may easily open and close with the goal that they could be folded away when necessary.
Joining the Weight Distribution Rope
In this step, we will use the 20 ft synthetic rope to link the eyebolt to the two holes of the wooden log. The weight of the punching bag is maintained and scattered into these three areas with the goal that the entire weight of the punching bag doesn’t fall only the eyebolt.
Cross the hole on the top of the beam with 3 ft of rope. Tie the other ending point of the rope in a knot and string it as well.
Then, at that point, wire through the eyebolt connects the wood with the second-end part of the rope. String the rope’s end through a similar tie knot. This makes an average-weight suspension point much closer toward the top.
Tie the ropes’ ends together with a twofold sheet bend knot. Then, at that point, join a carabiner to the rope threaded throughout the two holes at the top.
Simply, press in on the spring-loaded side of the carabiner and let it pass through a section of wire that goes through both the two holes present at the top of your wooden bars. Then, at that point, let go of the spring-loaded section.
At last, on the end of the main length of the rope, make an overhand bow knot. Then, at that point, thread a carabiner through the loop created by the knot. Join this carabiner to one another so that this can be attached to the bark of a tree or some support pint to hold the punching bag stand’s weight.
Then, simply we’ll get the punching bag stand by tying the free end part of the wire to the base of a tree or anything heavy and durable.
Towards the end of the support rope that is not connected to the tree, apply an anchor knot. At the finish of the seal, the anchor knot leaves a small circle. Now you can easily connect a carabiner to the made circle. Join it with the carabiner connected to the three anchor points of the X-frame stand constructed.
Hook the carabiner connected to the X-frame stand to the carabiner on the rope attached to the tree to firmly anchor the stand in place. Adjust the stand so it inclines from the anchor point at a 20-degree angle. Assuming that everything is done right, the stand will stay firm on the ground.
Setting Up the Punching Bag
As we are finished with the anchor, we can now take our punching bag and connect it to the frame we created. First, you need to get the stand’s own feet before you attach your bag to it. It fluctuates depending on whether the punching bag is put indoors or outdoors.
If you’re setting up the punching bag stand outside, cut wedges in the bottoms of the logs so they might dig into the grass. On the contrary, if you’re placing the stand inside on a leveled floor, ensure the stand is leveled by cutting it out at a 15-degree angle at the bottom. You can utilize rubber to reduce the slipperiness.
Now, cut out 3 feet from the rope and run through each one of these three anchors. Then, stitch two carabiners on a rope to fit your punching bag on top.
At last, lift your punching bag close to the stand and attach all the hard-core straps of the punching bag with the hanging carabiner. Your punching bag stand is good to go.
Final Words
If you are looking for decent exercise, working out with a punching bag has many advantages.
You can work out your stress, relax after a difficult day at work, and you can even learn defensive techniques if you know how to hit the punching bag right.
In any case, setting up a heavy-weight punching bag can be truly a problem, particularly if you don’t have the right ceiling beam.
I hope the basic instructions to build a stand at home will assist you with making your custom-made DIY punching bag stand that will bring about an ideal result.